
AI Photo Editing Tools: A Restaurant Owner's Guide
Let's be clear about something right away. When we talk about AI photo editing tools for restaurants, we're not talking about creating fake, computer-generated images of food. We're talking about tools that take your actual food photos and give them a professional look.
For you, a restaurant owner, this means you can snap a picture of a dish fresh from the kitchen and, with a few simple text commands, make it look like it came from a high-end photoshoot in about 10-30 seconds. This is a big change from the traditional way of doing things, which has always been slow and expensive.
Why Your Menu Photos Matter More Than Ever
As a restaurant owner, you pour your heart and soul into every plate that leaves your kitchen. The frustrating part is that getting photos that actually capture that dedication is a constant struggle. We built MenuCapture because we've seen this firsthand. The food looks fantastic on the plate, but the photos often fall flat.
The Old Way Is Broken
The traditional path for menu photography has problems that don't fit the reality of running a restaurant. You're often stuck with a process that's:
- Expensive: Traditional food photography costs $75-150 per photo. If you have a 25-item menu, that bill adds up quickly. It becomes a major recurring expense every time you add a special or update the menu.
- Slow: From booking a photographer to getting the final edited images, you could be waiting 2-7 days. That's a huge delay when you want to promote a new dish today, not next week.
- Inconsistent: Different photographers have their own styles. Over time, this can leave your menu looking like a jumble of disconnected photos, weakening your brand's consistent feel.
This old model puts you in a tough spot. You either pay a lot, wait a long time, or settle for photos that don't do your food justice. Since research shows that food photos influence nearly two out of three people in their dining decisions, settling isn't a great option.
A New Approach for Restaurant Owners
This is where AI photo editing tools built for restaurants come in. Imagine taking a photo of your signature pasta dish with your phone. In less than a minute, you can type "make the sauce look glossier" or "add a rustic wooden background" and see it happen.
This isn't about creating fake food. It's about taking the real, delicious dishes you prepare and giving them the professional polish they deserve, quickly and affordably. You're always in control, ensuring every photo is a true reflection of your craft.
This guide will show you exactly how these tools work, offering a practical way to get menu photos that bring more people through your door. You'll see how you can finally take control of your restaurant's visual marketing without the high costs and long delays of a traditional photoshoot.
How AI Photo Editing Actually Works for Food
Let's clear up a common misunderstanding. When you hear about AI photo editing tools, you might think of software that creates completely fake images from scratch. That’s not what we’re talking about here. You want to show off your food, not a computer’s idea of a burger.
The kind of AI we focus on edits the photos you actually take. It works with the real pictures of the dishes coming out of your kitchen. Think of it like having a professional food photographer's assistant available 24/7. This distinction is important, and we cover it more in our article on how AI generates food images.
A Simple Three-Step Workflow
This is a smart, fast process designed for restaurant owners, not graphic designers.
- Upload Your Photo: Start with a picture you took on your phone. It could be a new daily special or an updated shot for your menu. Just upload the JPEG or PNG file.
- The AI Analyzes It: In about 10-30 seconds, the AI scans your photo. It analyzes lighting, color, and composition and identifies your dish, separating it from the background.
- Tell It What You Want: This is where you take charge. You type simple instructions describing the changes you want, and the AI makes those edits while keeping your dish the focus.
This practical approach is changing the photo editing software market, which is expected to reach USD 1,818.90 million by 2034. AI automates tasks that once required years of training, putting professional-quality results in reach for everyone.
What's Happening Behind the Scenes?
When you type a command, the AI isn't just applying a filter. It's making specific, intelligent adjustments because it understands the principles of food photography.
It’s a tool built to assist your real work, not replace it. The goal is simple: make your burger look its absolute best without misrepresenting the delicious meal your customer is about to order.
A great example of this is how the AI uses the concept of clipping. This technique precisely isolates your dish from everything else in the photo. This lets you swap the background, add a shadow, or adjust the lighting on the food itself, all without affecting the rest of the image. It maintains the integrity of your dish while giving you creative control over how it’s presented.
Directing Your Photos with Simple English
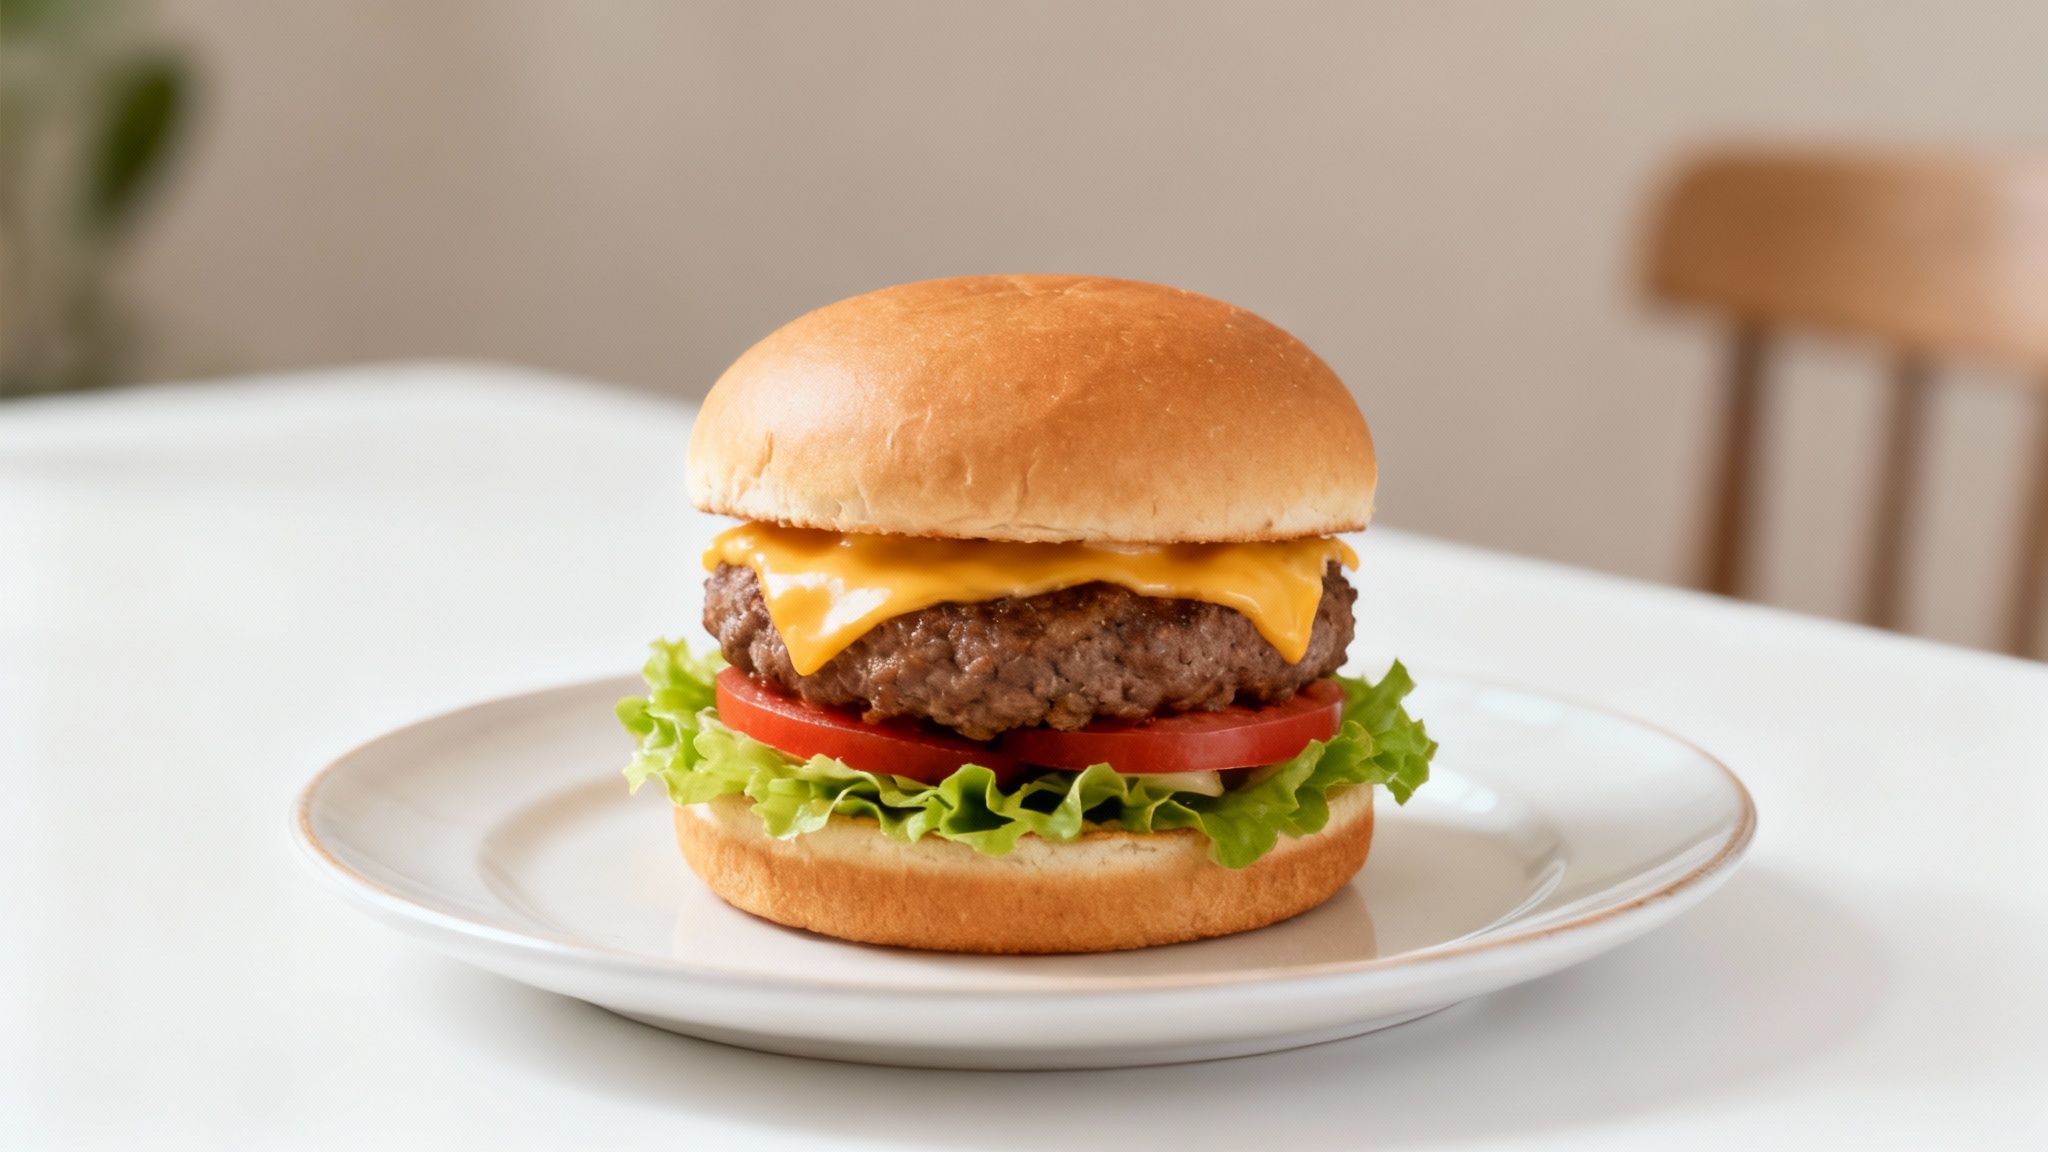
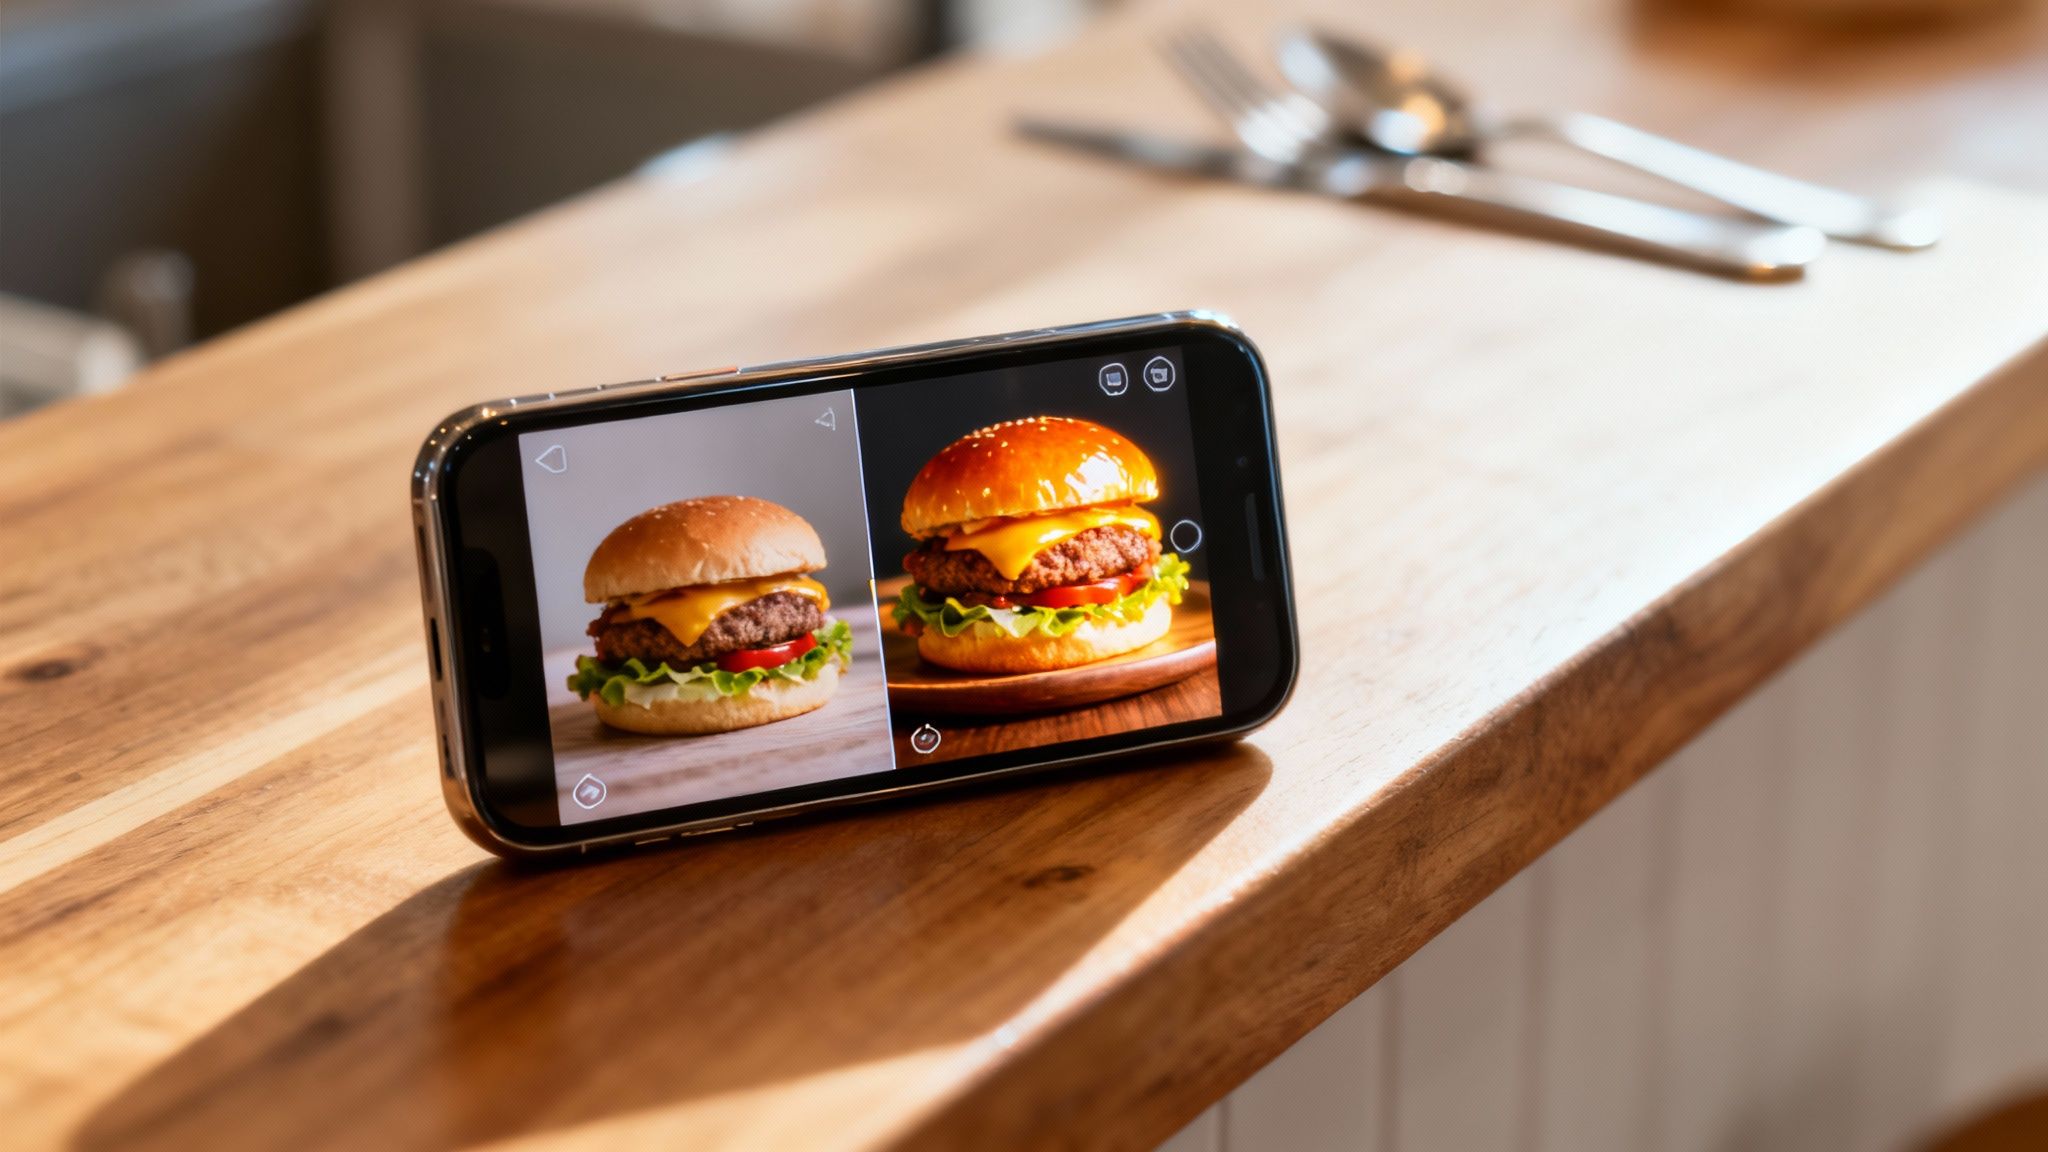
The primary feature that differentiates modern AI photo editing tools isn't a complex menu setting. It’s plain English. This is how you, the restaurant owner, get to be creative without needing a technical background. You can type instructions like "add melted cheese on top," "make sauce glossier," or "swap chicken for salmon."
Think about it. Your best burger comes off the grill, and you snap a photo. It looks good, but it doesn't quite capture that mouth-watering feel. Instead of dealing with confusing software, you just type what you want to see. This simple process puts you—the person who knows the food best—in control.
Turning Words into Visuals
This text-based direction is the main feature that sets a tool like MenuCapture apart. It's not about applying a generic filter; it's about turning your specific vision for a dish into a great photo in just a few seconds.
Here are a few real-world examples of what you could type:
- For Details: "Add melted cheese dripping down the side of the burger."
- For Texture: "Make the sauce on this pasta look more glossy."
- For Freshness: "Add a sprinkle of fresh parsley for a pop of color."
The AI interprets these instructions and applies realistic edits to your actual photograph. It’s not creating a fake dish. It’s making your dish look as good as it tastes.
Setting the Mood with Simple Prompts
Beyond fixing small details, you can also control the entire atmosphere of the photo. The right mood can make a dish feel like cozy comfort food or an upscale delicacy. You don't need to be an expert in lighting or color theory to get it right.
This is all about creative control, not technical skill. If you can describe a dish to a server, you have all the expertise you need to direct the AI.
For instance, you can guide the overall vibe of the image with instructions like these:
- To create ambiance: "Change lighting to warmer and more inviting."
- To signal freshness: "Create gentle steam rising from the soup."
- To add drama: "Make the lighting more dramatic with darker shadows."
This level of direction ensures your photos line up with your restaurant's brand and the feeling you want to give your guests. After all, you know your food better than anyone, and this method finally lets your photos reflect that.
Why This Matters for Restaurant Owners
This text-prompt approach solves one of the biggest problems of traditional food photography. You no longer have to try and explain your vision to a photographer and hope they understand. The frustrating back-and-forth over email to get one small detail changed is gone.
If you look at an edited photo and think, "The steak could look a bit juicier," you just type it. Within 10-30 seconds, you see the result. This immediate feedback loop saves a huge amount of time and closes the communication gap that often leads to photos that just miss the mark. You get exactly what you want, when you want it.
Comparing AI Editing and Traditional Photoshoots
When you're deciding how to get great photos for your menu, it really comes down to three things: money, time, and control. For a long time, a traditional photoshoot was the only option, and it came with high costs and headaches. Now, AI photo editing tools have changed the game completely.
Let's get practical about what this means for your restaurant. The goal isn't just a pretty picture; it's a mouth-watering shot that sells more food without damaging your budget or schedule. The difference between the old way and the new way is huge, especially when you look at the numbers.
A Head-to-Head Look at the Numbers
To understand the business impact, it helps to put the costs and timelines side-by-side. One path involves a lot of coordination with outside professionals, while the other puts powerful tools directly in your hands.
The AI editing workflow is simple: take a picture, describe the look you want, and let the AI handle the rest. You get a new, polished photo in seconds.
This simple, direct process is what creates such a dramatic difference in both cost and speed compared to the old-school approach.
Cost and Time Comparison: AI Editing vs. Traditional Photography
The table below breaks down the real-world investment of both time and money. It goes beyond the price tag to look at factors like scheduling, consistency, and how easy it is to make changes.
| Factor | Traditional Photography | MenuCapture AI Processing |
|---|---|---|
| Cost Per Photo | $75-150 | $0.09 (annual plan) or $0.24 (weekly plan) |
| Turnaround Time | 2-7 day turnaround | 10-30 second processing |
| Scheduling | Photographer scheduling required | No scheduling needed |
| Equipment Needed | Studio setup and lighting needed | Works with smartphone photos |
| Result Consistency | Results vary by photographer | Consistent AI results |
| Revisions | Re-shoots cost extra | Edit multiple times included |
This comparison highlights a fundamental shift in how restaurants can manage their visual branding.
What This Comparison Means for Your Restaurant
The numbers in the table are clear. For a restaurant with a 20-item menu, a traditional photoshoot could easily cost between $1,500 and $3,000. That’s a significant expense, and it doesn't even factor in the time your staff spends prepping for the shoot. Even worse, if you want to add a new seasonal dish next month, you have to start that whole expensive process over again.
With an AI-powered tool, that same 20-item menu can be processed for just a few dollars. But the speed is the real difference-maker. You can take a photo of a new lunch special and have a professional-grade image ready for social media before the dinner rush arrives. We break down the numbers even further in our complete guide on menu photography costs.
The key takeaway is simple: Save 99.9% on menu photo costs while getting results in seconds instead of days.
This is about more than just saving money; it’s about being more agile. In the fast-paced restaurant world, the ability to update your visuals on the fly is a huge advantage. You can react to inventory, promote daily specials, and keep your online presence fresh without worrying about the cost. It turns photography from a slow, expensive project into a fast, simple part of your daily routine.
Building a Cohesive Menu, One Edit at a Time
A great menu is a visual story, not just a list of dishes. Having one or two good photos is a start, but what really grabs a customer’s attention is a consistent, polished look across every image. That’s where a smooth workflow becomes just as important as the edits themselves.
The problem is, achieving that consistency the old way is a challenge. Photos taken on different days, under different lighting, often look like they belong to different restaurants. This is exactly the problem AI photo editing tools solve: they help ensure your entire menu feels like it belongs together.
Your Creative Workflow, Simplified
The goal is to get from a single photo to a complete, beautiful menu easily. You need tools that let you experiment, go back, and organize your work without slowing you down.
With MenuCapture, we designed the workflow around how a restaurant actually operates: fast-paced and flexible. It starts with continuous editing. This lets you take an image you just edited and keep refining it. For instance, after changing the background, you might decide to type, "add a shadow to make the plate pop." You can layer edits on top of one another.
And if you make a change you don't like? No problem. The system keeps a full version history with thumbnails for every photo. You can see every change you’ve made and go back to a previous version with one click. It even supports keyboard shortcuts like Ctrl+Z (undo) and Ctrl+Y (redo), so you never feel stuck.
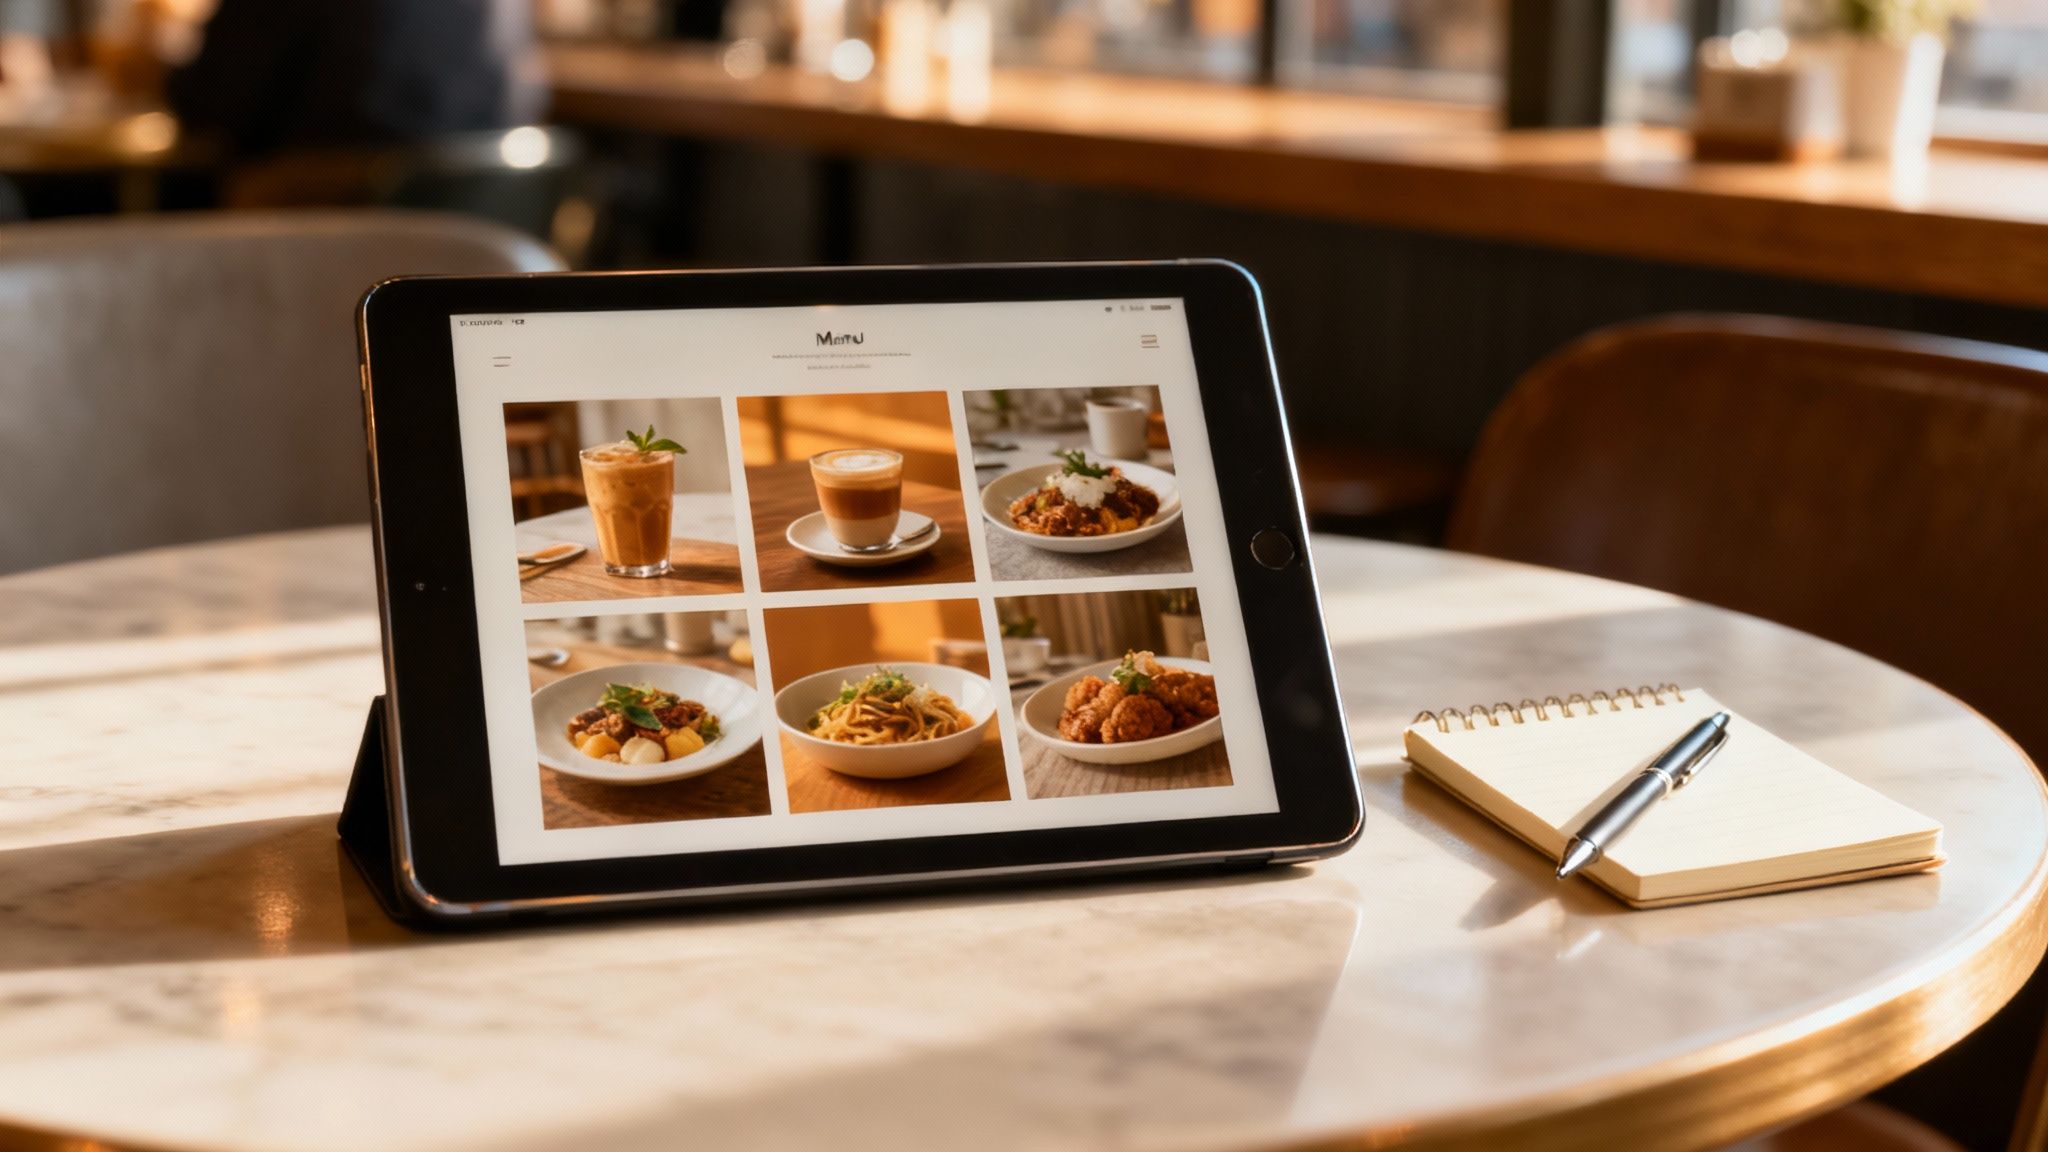
Keeping Your Photos Organized
As you build your library of food photos, keeping them organized can be a chore. A good AI tool should handle this for you. All your images are automatically saved into an organized gallery. The system uses smart grouping to sort photos by date, and a built-in search function helps you find specific images in seconds.
This kind of organization is a huge time-saver. It ensures you can always find your best photos right when you need them for social media, your website, or a menu reprint.
Advanced Tools for a Complete Menu
Once you're comfortable, you can use more advanced features to manage your entire menu efficiently.
- Batch Processing: You can upload and apply the same style edits, like a specific background or lighting effect, to up to 10 photos at once.
- Ingredient Swapping: Need to show a variation of a dish? Just type prompts like "swap the salmon for tuna" or "change the lamb to duck."
- Background Changes: You aren't stuck with a few presets. You can request any background you can imagine, from "vintage wood" to "industrial concrete" or "bamboo."
This shift towards smarter, simpler tools reflects a major industry trend. The photo editing app market is on track to hit USD 1,714.4 million by 2034, driven largely by tools that make professional results accessible to everyone. It's no surprise that nearly 30% of top photo apps now include AI features. You can explore more data on the app market's growth and see for yourself how AI is becoming standard.
These workflow tools are designed to help you build a complete, professional, and consistent menu look without the complexity of traditional software. It’s about giving you control over your entire visual brand, not just one photo at a time.
How to Get Started with AI Photo Editing
Getting started with AI photo editing is much more straightforward than it might seem. You don’t need to be a professional photographer. The whole idea is to start with a decent photo from your phone, giving the AI a solid foundation to work with.
This new way of working puts you back in control of your menu's visual identity. You get to decide how your food looks, save a lot of money, and achieve that consistent, professional style across your entire brand. Best of all? It all happens in minutes, not weeks.
A Quick Checklist for Better Smartphone Photos
To get the most out of any AI editor, you need to provide a good starting image. You don't need a high-end camera; your phone and a few simple tricks are all it takes.
- Find Good, Natural Light: Get near a window whenever possible. Soft, natural light is better than the harsh glare of kitchen fluorescents and helps avoid unappealing shadows.
- Keep Your Background Simple: A busy background is distracting. A clean table, a simple cutting board, or a plain wall gives the AI a clear subject to focus on.
- Get the Angle Right: Stick to a 45-degree angle or a top-down, "flat-lay" shot. These are standard angles in food photography because they work well.
For more details, check out our guide on taking better product photos for more easy tips that make a big difference.
Will My Photos Look Fake?
That’s a fair question. It's why we built MenuCapture. We believe your photos should look like the food you actually make, the food you put your heart into. Since our AI edits your own photos, the results are authentic and true to what a customer will get on their plate.
The AI isn't creating a fantasy dish from scratch. It’s simply applying the same lighting, color, and composition principles a professional photographer would use. The final image is still your food, just presented in its best possible light.
This is a massive shift away from tedious manual editing toward smart, automated solutions. The global AI Image Editor Market is projected to grow from $5.12 billion in 2024 to an estimated $48.74 billion by 2035, which shows just how many businesses are adopting this technology.
As you look around, it's helpful to see what different platforms offer. Explore AI photo editing services like Postbae to get a feel for the different approaches out there.
Honestly, the best way to understand the impact is to see it for yourself. When you're ready, grab your phone, take a few pictures of your dishes, and watch the transformation happen.
Common Questions About AI Photo Editing
Have a few questions? You're not alone. When I talk with restaurant owners about using AI for their food photos, the same practical concerns always come up. Let's address them directly.
Can I Really Just Use My Smartphone?
Yes, and that's the whole point. You don't need a professional DSLR camera. As long as you start with a clear, well-lit shot from your phone, the AI has what it needs to produce a professional-looking result.
It's designed to turn good photos into great ones, polishing them to look like they came from a professional shoot.
How Long Does It Actually Take to Edit a Photo?
We're talking seconds, not hours. The entire process for a single photo usually takes between 10 to 30 seconds.
You upload your image, type what you want—like "make the sauce look glossier"—and your new version is ready almost instantly. It's a huge time-saver compared to the back-and-forth of traditional photo editing.
What If I Don’t Like the First Result?
That's fine, and it happens. You're never stuck with an edit you don't like. If the first try isn't quite right, you can simply give the AI a new instruction to adjust it.
Better yet, the system saves every version of your photo. You can easily see all your previous edits as thumbnails and go back to an earlier one with a single click. You're always in control.
Is Writing the Prompts Hard?
Not at all. If you can tell a person what you want, you can write a prompt for the AI. There’s no technical jargon or complex code to learn.
Think of it like a conversation. Simple phrases like "make the steak look juicier," "brighten the colors in the salad," or "put this on a dark wood table" work perfectly. It’s built for busy people who know food, not for software engineers.
These tools are all about removing the old barriers. They put the creative control right where it belongs: in your hands, making great food photography something anyone can achieve.
Ready to see how fast you can improve your menu's appeal? With a tool like MenuCapture, which costs $9/week or $159/year, you can turn simple smartphone pictures into professional food photos in just a few clicks.
Ready to transform your menu photos?
Type what you want changed and AI processes your restaurant photos in seconds.
Start Processing Photos