
Continuous Photography Lighting: A Restaurant Owner's Guide to Better Menu Photos
When you pour your heart into creating a dish, the photo on your menu should do it justice. The problem is, professional photography is expensive, and just using your phone often leads to dark, unappetizing pictures. The secret isn't a fancy camera; it's good lighting.
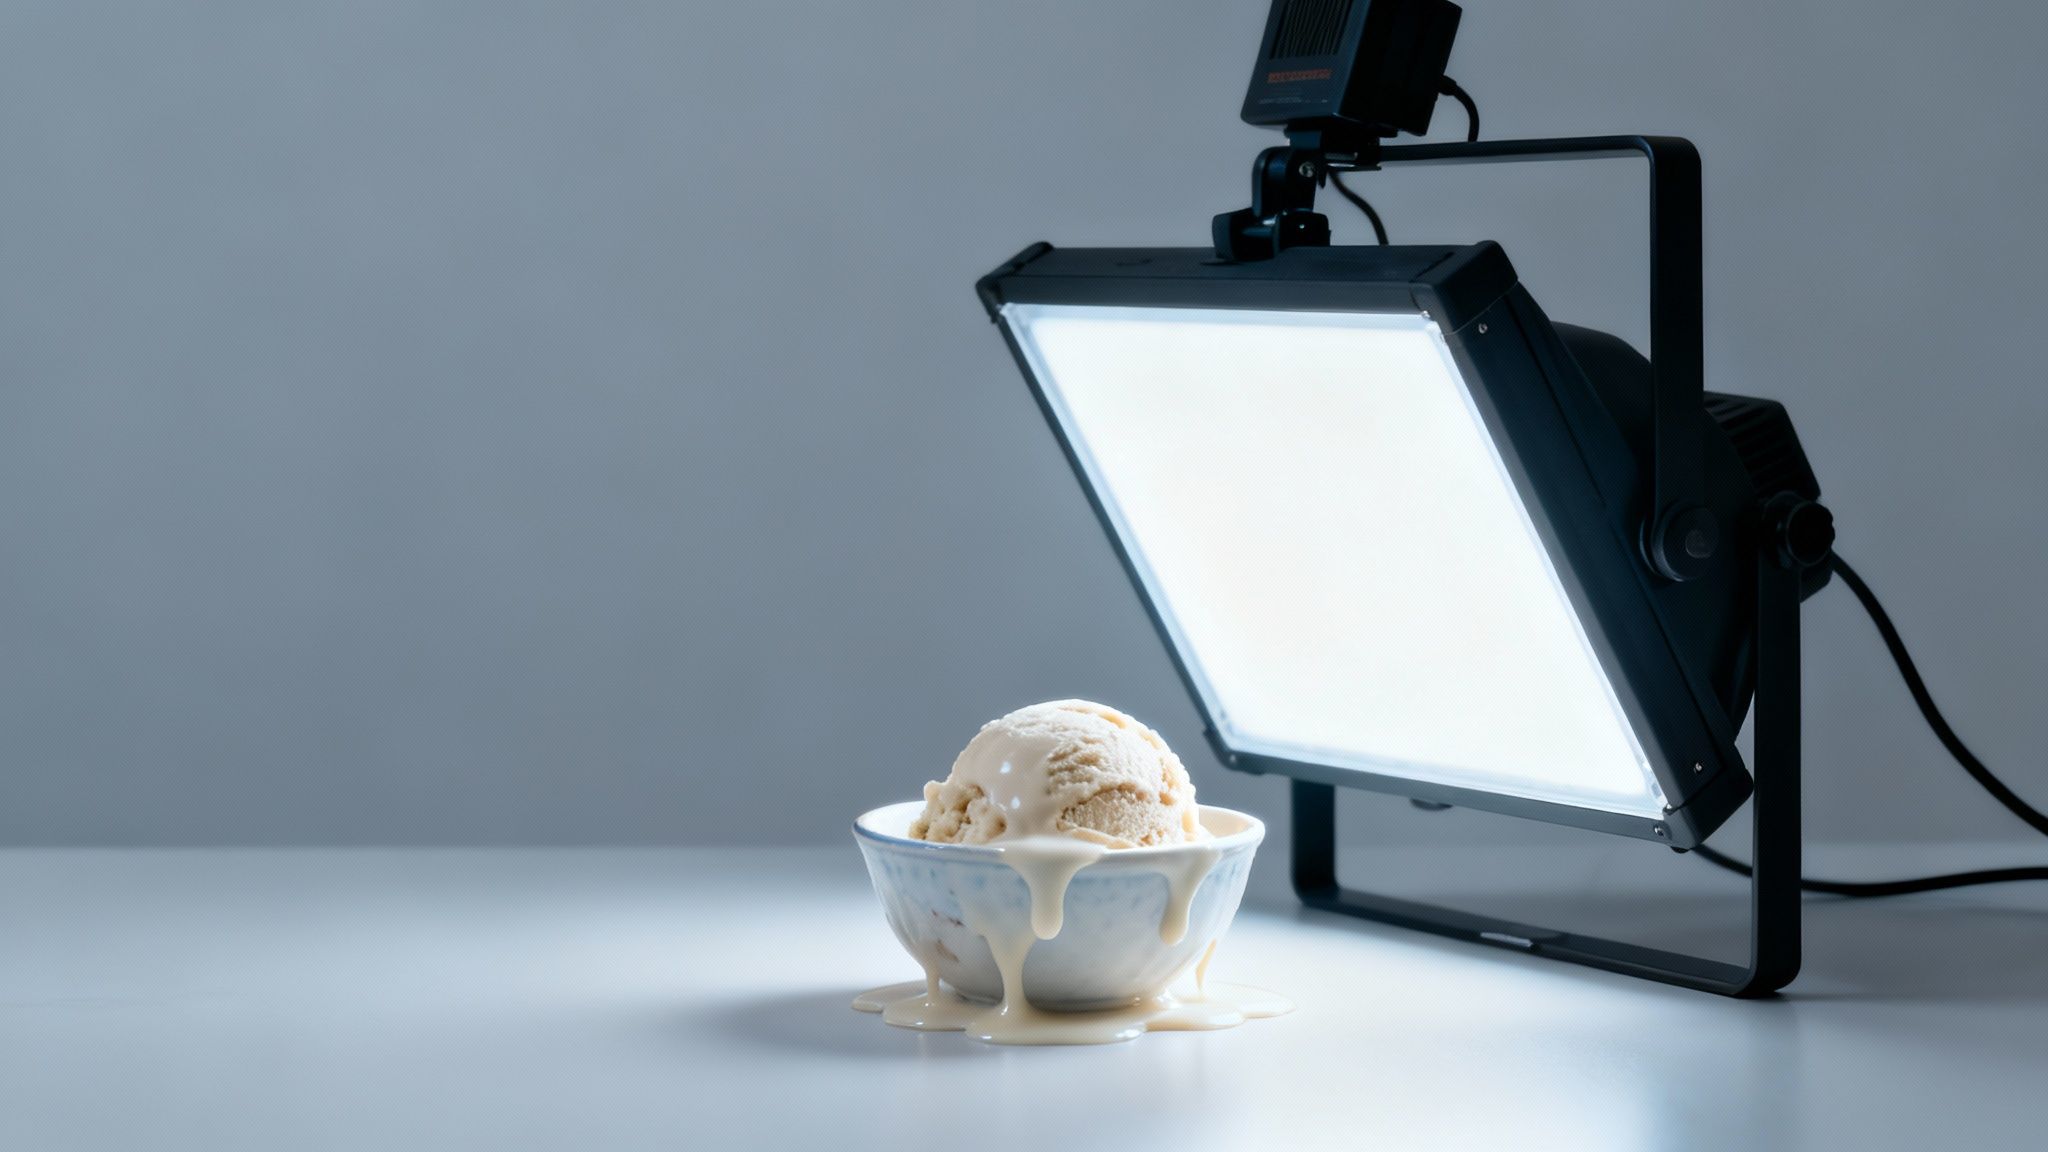
Continuous photography lighting is simply a light source that stays on constantly, like a lamp. Unlike a camera flash that gives a sudden, harsh burst, continuous light lets you see exactly how the light and shadows will look on your food before you take the picture. This "what you see is what you get" approach removes all the guesswork.
Most AI photo tools you see online generate fake food images from scratch. We built MenuCapture because restaurant owners deserve a tool that works with their actual food photos. It lets you take a photo of your real dish, upload it, and then simply type what you want changed. This guide will show you how the right lighting makes that process work beautifully.
Why Consistent Lighting Is Everything for Your Menu
You know the feeling. One day you get a great shot next to a sunny window, but the next day is overcast, and every picture comes out looking flat. Or the overhead kitchen lights cast harsh shadows that hide the best parts of the food. Your photos should always reflect the quality and care you put into your cooking.
Hiring a photographer is one option, but that costs $75-150 per photo and takes days to get the images back. Doing it yourself can feel like a frustrating guessing game. One shot might look okay, while the next has harsh glare or weird shadows.
This is where continuous lighting solves the problem. You can move the light around and watch in real-time how it brings out the best in your food. It gives you the control to showcase the details that matter:
- The golden, crispy texture of freshly made fries.
- The rich, glossy sheen on a decadent chocolate dessert.
- The fresh, vibrant colors of your key ingredients.
This visual shows how a single, continuous light source can be positioned to highlight texture and make a dish look as delicious as it tastes.
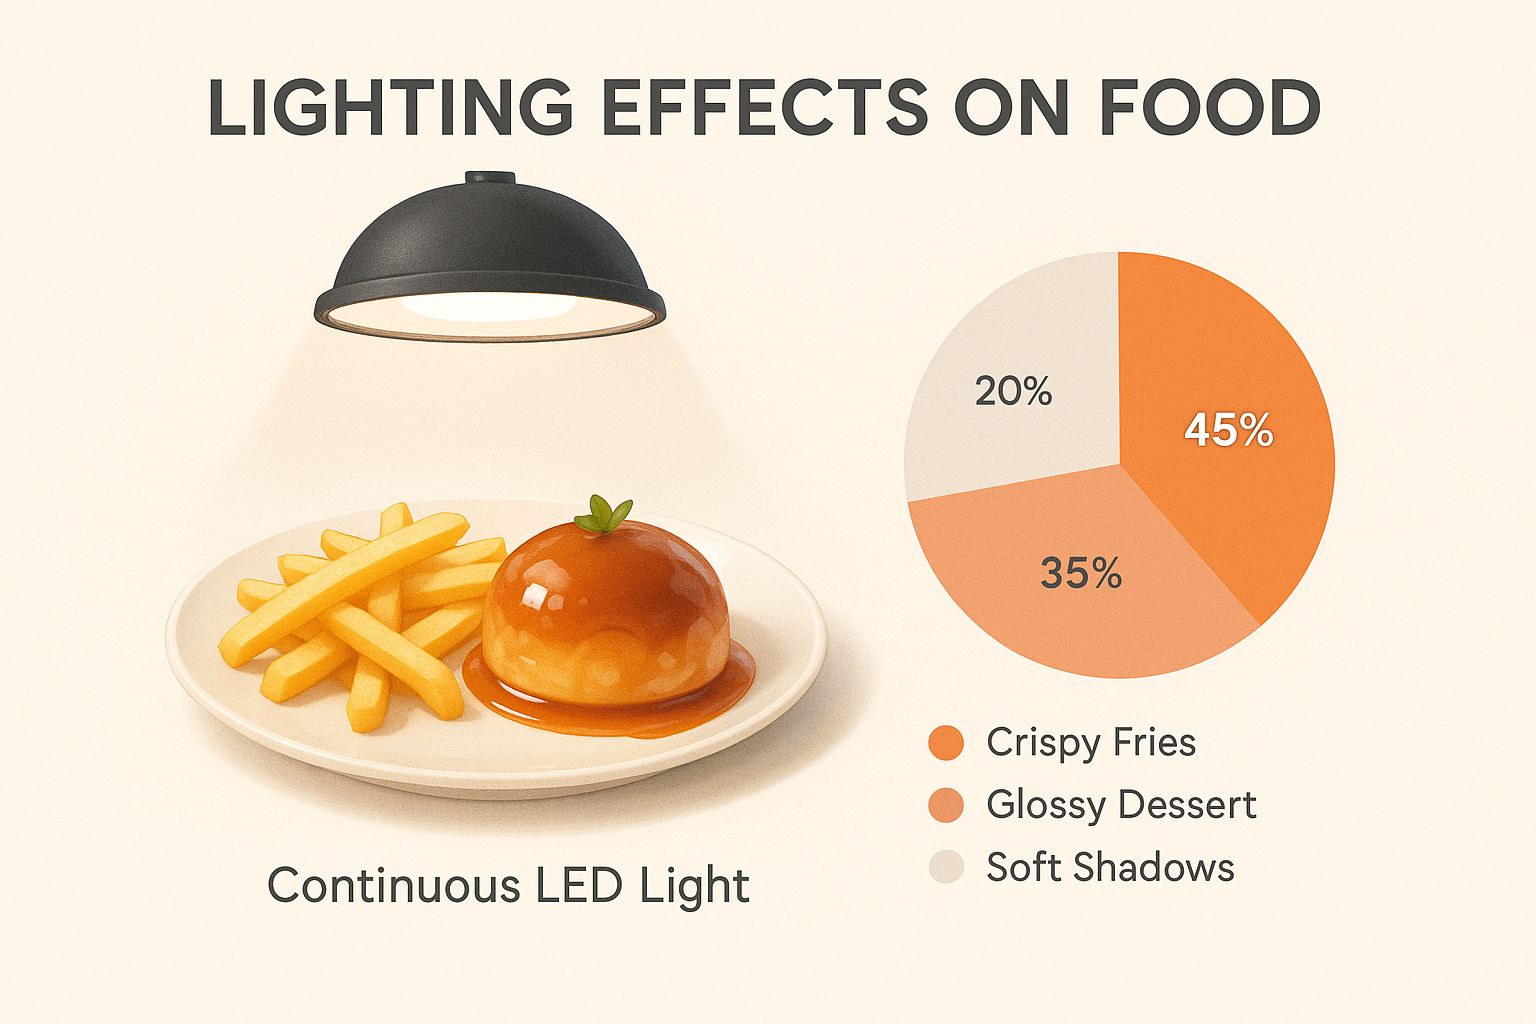
As you can see, you don't need a massive, complicated setup to get professional results. A single, well-placed light can make all the difference.
The Problem with Standard Restaurant Lights
Let's be practical: the lights in your restaurant were designed to create a great dining atmosphere, not to light a photo shoot. Here's a quick breakdown of the light sources you're probably dealing with and why they make food photography so tough.
| Light Source | What It Is | Key Challenge for Food Photos |
|---|---|---|
| Overhead Kitchen Lights | Usually bright fluorescent or harsh LED fixtures. | Casts hard, unflattering shadows straight down onto the food, giving it a sterile look. |
| Dining Room Lights | Typically warm, dim, and decorative for ambiance. | Creates a strong yellow or orange tint that throws off the natural colors of your ingredients. Rarely bright enough. |
| Window Light | Natural light from the sun. | Beautiful when it's good, but completely unpredictable. It changes with weather, clouds, and time of day. |
| Continuous Light | A dedicated LED photography light. | The solution. Consistent, controllable light you can shape and direct to make your food look its best. |
When you switch to a predictable light source, you create a repeatable process. This is how you make sure the burger you photograph today has the same professional look as the pasta dish you shoot next week. Research shows food photos influence nearly two out of three people in their dining decisions, so this consistency directly affects your bottom line.
For a deeper look into this, our comprehensive guide on food photography lighting has you covered.
Why Continuous Light Beats Flash for Food Photography
Choosing your lighting might sound technical, but for food, the choice is simple. For most restaurant owners, continuous light is the clear winner.
Using a standard camera flash is a frustrating guessing game. It's a sudden, harsh blast of light that you can't predict. One shot might have a blinding glare bouncing off the plate, while the next has deep, awkward shadows that make your dish look flat. You have to take a picture, check the tiny screen, guess at new settings, and try again. It's a huge waste of time you don't have.
See What You Get in Real Time
Because a continuous light is always on, what you see on your phone screen is exactly what you'll get in the final picture.
You can physically move the light around your dish and watch the highlights and shadows shift in real time. Want to bring out the crispy texture on fried chicken? Move the light to the side. Need to soften the look of a soup? Pull the light back a bit. This immediate feedback takes all the guesswork out of the process. You're not just hoping for a good shot; you're crafting it with confidence.
A More Forgiving Learning Curve
Let's be honest, mastering a camera flash is a headache. It means getting bogged down in technical jargon like guide numbers and sync speeds. For a restaurant owner who just wants great photos for their menu, it's completely unnecessary.
Continuous Lighting vs Flash: A Quick Comparison
Putting them side-by-side makes the practical advantages of continuous light for food photography obvious.
| Feature | Continuous Lighting | Flash (Strobe) |
|---|---|---|
| Real-Time Feedback | Yes, you see the light before you shoot. | No, you only see the result after the shot. |
| Learning Curve | Low, very intuitive for beginners. | High, requires technical knowledge. |
| Consistency | Easy to achieve consistent results. | Difficult, results can vary shot to shot. |
| Video Use | Excellent for both photos and video clips. | Unusable for video. |
Your goal is to create consistently mouth-watering photos that do justice to your food. Continuous lighting gives you the power to do just that, without needing a degree in photography.
Choosing the Right Type of Continuous Lights
Walking into a camera store or browsing online for lights can be overwhelming. You'll generally encounter three main types: LED, fluorescent, and tungsten. For modern food photography, LED panels are the clear winner.
Here's how the older options stack up, and why they fall short:
- Tungsten Lights: These are the classic "hot lights." They get so hot they can wilt the fresh greens on a salad or melt the cheese on your signature burger before you get the shot. They also use a lot of energy.
- Fluorescent Lights: Better on heat, but they can produce a subtle flicker that your camera notices, and many cheaper bulbs cast an unflattering greenish hue.
- LED Lights: The modern standard. They run cool, sip electricity, and produce clean, consistent light that lets your food's true colors shine through.
Why LED Lights are Perfect for Food
LEDs solve all the problems that came with older lighting, which makes them a perfect fit for a restaurant environment.
- They Run Cool: You can leave an LED panel on for hours right next to a dish, and it won't melt your food or heat up your workspace.
- They Are Energy Efficient: They use very little electricity compared to older lights, which is a welcome bonus on the utility bill.
- They Offer Flexibility: Many LED panels are bi-color, meaning you can change the color temperature with a simple dial. This lets you create a warm, inviting glow for a soup or a crisp, clean light for a salad, without fussing with different bulbs.
This shift toward LEDs is why the market keeps growing. The global market for continuous photography lighting was valued at around $1.2 billion in 2023 and is on track to more than double by 2032, according to Dataintelo's report on photography continuous lighting. The broader photography lighting equipment market is expected to climb from around $5 billion in 2025 to nearly $9 billion by 2033, per Verified Market Reports. For you, this trend is good news: professional-grade lighting is more affordable and user-friendly than ever.
What to Look for When Buying an LED Light
When you're ready to pick out a light, you don't need the biggest or most expensive model. Focus on two key specs that directly impact how good your food photos look:
- Brightness (Lumens or Lux): This tells you how much light the panel produces. For single-dish shots, a decent entry-level panel provides more than enough power.
- Color Rendering Index (CRI): This is the most important number. CRI is a scale from 0 to 100 that measures how accurately a light shows true colors. A low CRI can make vibrant red tomatoes look dull and orange. For food, look for a light with a CRI of 95 or higher.
Budget-wise, you can get a good entry-level LED panel, complete with a stand and a diffuser to soften the light, for about $100 to $200. That's often less than a single professional photoshoot.
Simple Lighting Setups for Perfect Menu Photos
You don't need a huge studio to capture great food photos. In fact, some of the best shots are taken with simple, repeatable setups in the corner of a restaurant.
These techniques are designed to be set up fast and produce consistent results for your entire menu.
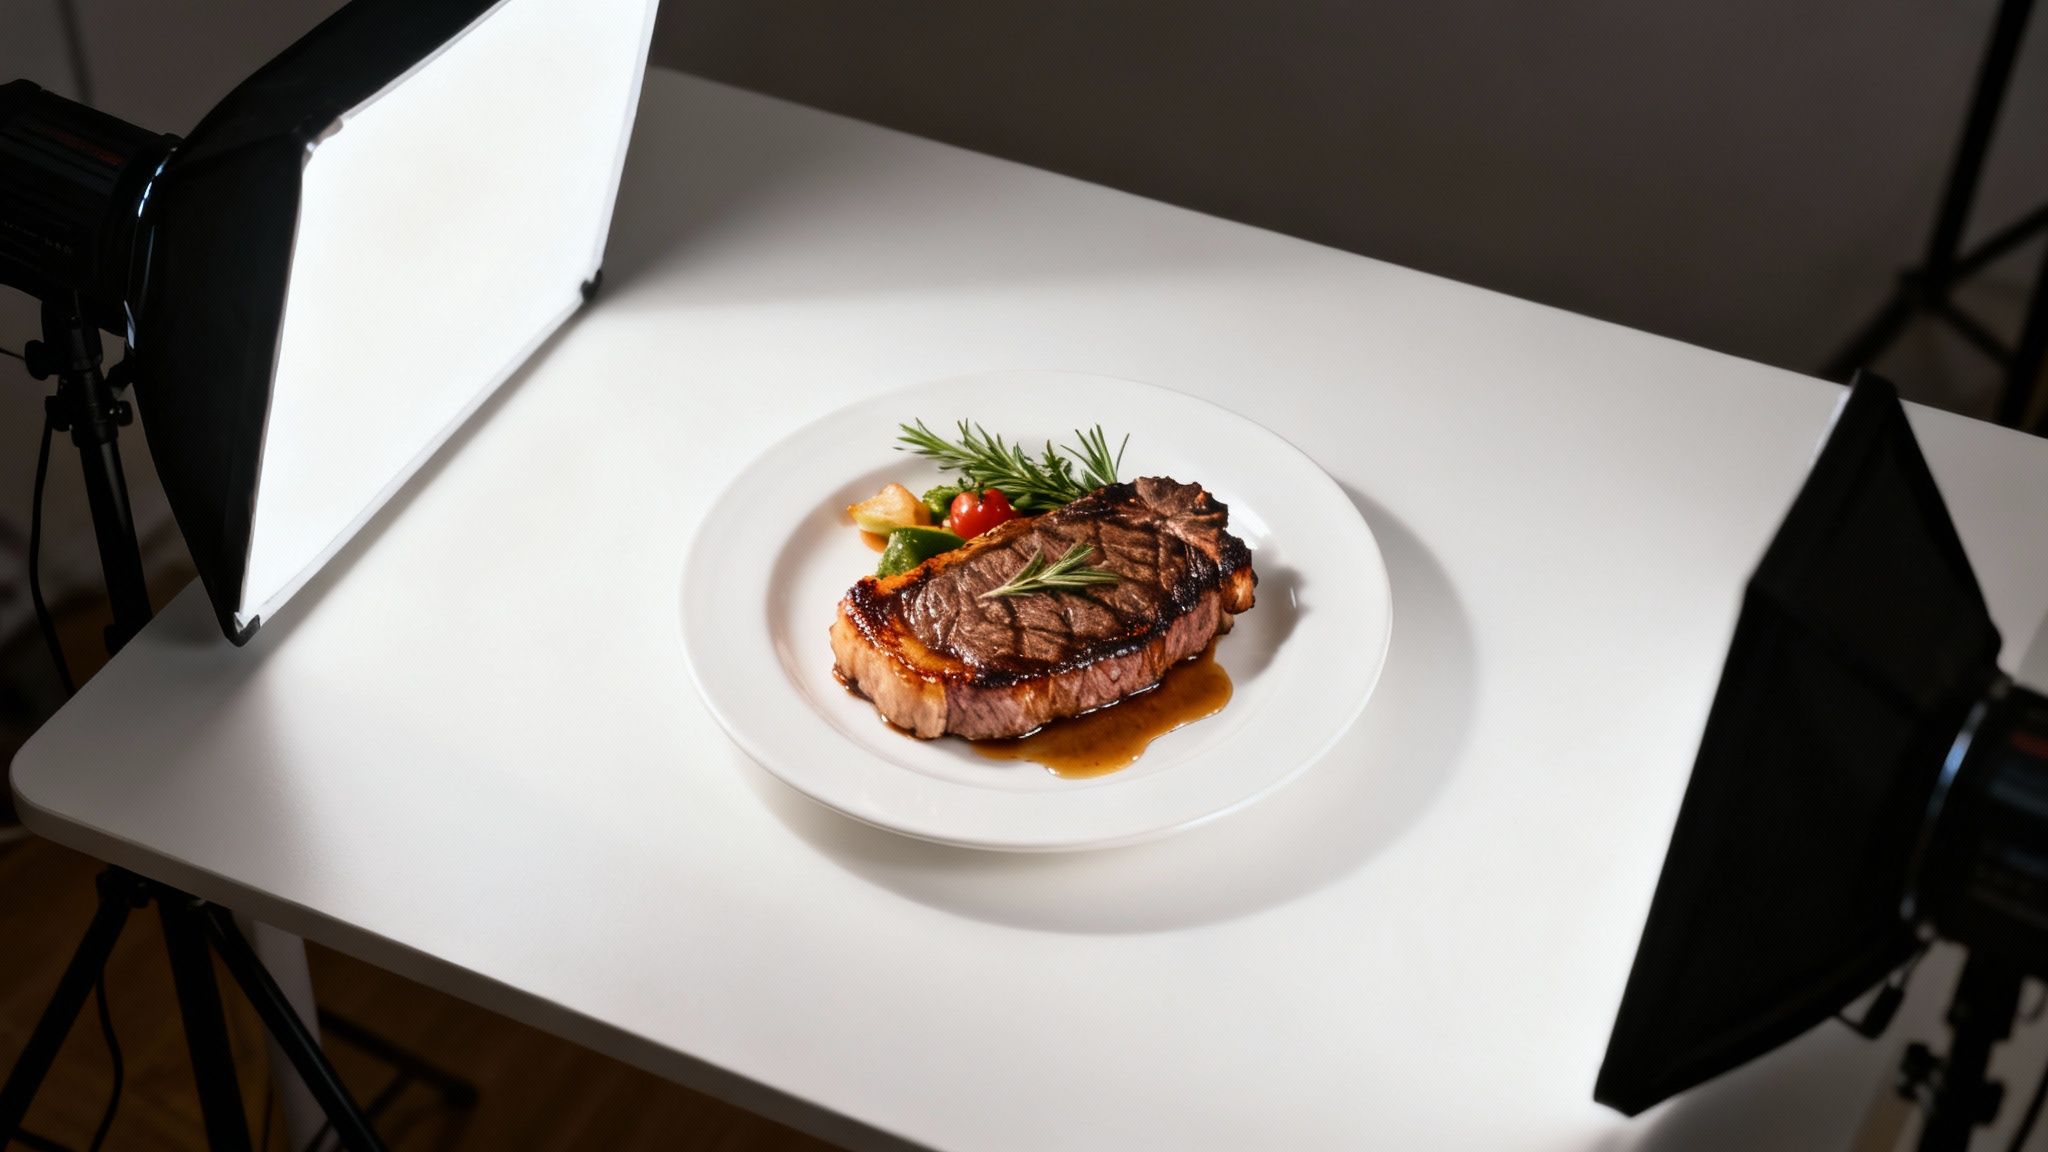
The Classic One-Light Setup
The one-light setup is the foundation of food photography and is often all you'll ever need. A single, well-placed light source creates soft shadows that give your food dimension and make textures pop.
Here's how to do it:
- Position Your Light: Place your LED panel at a 45-degree angle to the side of your dish. This is your "key light." Side lighting is the secret to revealing the flaky texture of a pastry or the crispy skin on chicken.
- Soften the Light: If your light looks harsh, add a softbox or diffuser. This is a simple fabric attachment that spreads the light out, wrapping your dish in a gentle, flattering glow instead of hard-edged shadows.
- Add a Reflector: On the opposite side of the dish, prop up a piece of white foam board from a craft store. This bounces light back into the shadows, softening them so they aren't dark voids.
- Adjust and Shoot: This is where continuous light makes things easy. Move the light and reflector around and see the effect instantly. Nudge things until the highlights and shadows look just right, then take your shot.
This simple arrangement is a go-to for a reason. It works for almost any dish.
The Polished Two-Light Setup
When you want a brighter, more polished look, adding a second light gives you more control over highlights and shadows. It creates a clean, professional feel that's perfect for hero shots of your signature dishes.
- Your Key Light: This is still your main light source, positioned at a 45-degree angle to the side. This should be the brighter of your two lights.
- Your Fill Light: Place your second, less powerful light on the opposite side. Its job is to "fill in" the shadows cast by the key light, making them softer.
The secret to a great two-light setup is balance. Your fill light should always be less bright than your key light. If they're equally powerful, you'll kill all the shadows and the image will look flat. A good rule of thumb is to set your fill light to about half the brightness of your key light.
A Quick Smartphone Checklist Before You Shoot
You don't need a high-end camera. Your smartphone is powerful, especially when you give it good light to work with. Before you start shooting, run through this quick checklist:
- Clean Your Lens: Fingerprints and smudges are a common reason for hazy photos. A quick wipe with a soft cloth makes a world of difference.
- Turn Off Other Lights: Let your continuous light do the work. Turn off the overhead kitchen fluorescents or dining room lamps to avoid weird color casts and conflicting shadows.
- Tap to Focus: Tap right on the hero of your dish on your phone screen. This tells the camera what to keep sharp and helps it set the right exposure.
- Avoid Digital Zoom: Don't pinch to zoom. It just degrades the quality of your image. If you need a tighter shot, physically move your phone closer.
For more on the shooting side of things, check out our complete guide to food photography.
Taking Your Photos from Great to Perfect
Getting your lighting right is 90% of the battle. The final touches in editing are what make your menu photos truly pop. Professional photographers can spend hours editing each photo, which is a big part of why they charge $75-150 per image and take days to deliver.
Once you have a great-looking photo on your phone, editing should be the easy part. AI-powered tools designed for restaurant owners, like MenuCapture, let you skip the confusing sliders and just type what you want to change.
From a Good Shot to the Perfect Dish
Imagine you just used your LED panel to take a fantastic photo of your signature burger. The lighting is good, but you feel it could be even better. With MenuCapture, you use text prompts to give direct instructions:
- "Add melted cheese on top"
- "Make the sauce glossier"
- "Change lighting to warmer"
The AI analyzes your photo's lighting, color, and composition and applies these changes in 10-30 seconds. Because you started with a high-quality, well-lit photo, the results look realistic. The better your initial lighting, the better the AI edits will be. You can even edit the same image multiple times, and a full version history with thumbnails is always saved.
Saving Time and Money on Final Edits
This table breaks down the investment needed for professional-quality menu photos.
| Factor | Traditional Photography | AI Processing with MenuCapture |
|---|---|---|
| Cost Per Photo | $75-150 | $0.24 (weekly) or $0.09 (annual) |
| Turnaround Time | 2-7 days | 10-30 seconds |
| Scheduling | Required weeks in advance | None needed, available 24/7 |
| Re-Edits | Costs extra and takes more time | Included, edit multiple times instantly |
This means you can save over 99% on photo costs while getting results in seconds instead of days. You also gain creative control. Experiment with different backgrounds by typing "change background to vintage wood" or "place on a granite countertop." To see how this works, learn more about our food background generator, or compare the numbers in our guide on AI versus traditional photography costs.
Common Questions About Continuous Lighting
Diving into new equipment always brings up a few questions. Here are the ones we hear most from restaurant owners.
Do I Need Expensive Lights or More Than One Light?
No on both counts. You can get fantastic results with a single, affordable LED panel and a reflector. The secret isn't the price tag; it's how you use the light.
A budget light placed well will beat an expensive one positioned poorly every time. Placing one light to the side of the dish creates the natural-looking shadows that make food look appetizing. Adding too many lights can actually flatten everything out and make the shot less interesting.
Can I Just Use Light From a Window?
Natural light can be beautiful, but for a restaurant, it has two big drawbacks: it's inconsistent and it's not always available.
The weather and time of day will completely change the quality and color of window light. If you shoot one dish on a sunny morning and another on a cloudy afternoon, your menu photos will look mismatched. A continuous light gives you the same perfect lighting whether you're shooting at 10 AM on a sunny day or 8 PM on a rainy night.
What Is CRI and Why Does It Matter for Food?
CRI stands for Color Rendering Index. It's a score from 0 to 100 that tells you how accurately a light source shows true colors. A light with a low CRI can make your vibrant red tomatoes look dull and orange, or wash out a bright green salad. When shopping for lights, always look for a CRI of 95 or higher.
What's the Deal with Color Temperature?
Color temperature is just the color of the light itself: warm and yellow like a sunset, or cool and blue like twilight. For food photography, the magic number is usually around 5600K (Kelvin), known as "daylight balanced."
This setting mimics neutral daylight, so your ingredients look true to life. It prevents an unappetizing yellow or blue tint, keeping red tomatoes red and green lettuce fresh. Most good LED lights let you set this easily.
How Much Will a Basic Setup Cost?
You can get a quality entry-level LED light panel with a stand and diffuser for around $100 to $200. When a single professional photoshoot can cost more than that for just a handful of images, investing in your own gear makes a ton of sense.
How Does Good Lighting Help AI Photo Editors?
The secret to getting great results from any editing tool is to start with a great photo. Continuous lighting gives you a clean, detailed, well-lit image, which is the perfect canvas for an AI editor like MenuCapture.
When the AI has a high-quality photo to work with, its edits are more precise and realistic. If you type "make sauce glossier," the AI can easily see the sauce and apply the effect because your light has already defined its shape and texture. Trying to fix a poorly lit photo is a challenge, even for powerful AI. For more practical advice, our Uber Eats photography guide is a good next stop.
At MenuCapture, we built our tool to work with the actual photos you take in your restaurant. By pairing a simple continuous lighting setup with our text-prompt editor, you can take full control of your menu photography, from the initial shot to the final image.
Ready to see how it works? Upload restaurant photos and start editing in seconds.
Ready to transform your menu photos?
Type what you want changed and AI processes your restaurant photos in seconds.
Start Processing Photos