
How to Take Better Product Photos for Your Menu
Let's be honest: customers eat with their eyes first. You pour your heart and soul into crafting amazing dishes, and your photos need to show that same level of care. A great photo can be the difference between a new customer choosing you or scrolling right past.
Why Great Menu Photos Are So Important
We’ve all been there. You’ve just perfected a new dish. It tastes incredible, the plating is just right, and you're excited to add it to the menu. You grab your phone, snap a quick picture under the dining room lights, and… it just looks flat. Lifeless.
That quick snapshot doesn't come close to doing your food justice. That's a huge problem when your online menu is often the first impression a potential customer gets of your entire restaurant.
This isn’t just about making things look nice; it's about business. Research shows food photos influence nearly two out of three people in their dining decisions. That statistic is just as true for a customer choosing between your restaurant and the one down the street. You can dig deeper into how product images influence buyers to see the full impact.
The Restaurant Owner’s Dilemma
For years, restaurant owners have been stuck between two tough options, and neither is great for a busy operation.
- Expensive Professional Shoots: Hiring a food photographer is costly. You’re looking at $75-150 per photo. On top of that, you have to schedule them weeks in advance and then wait another 2-7 day turnaround for the final images. It's a recurring expense and a logistical headache every time you update the menu.
- Time-Consuming DIY: Taking it all on yourself means you have to become a part-time photographer. You have to learn the craft, maybe buy gear, and then spend hours editing. Even after all that effort, getting consistent, professional-looking shots across your entire menu is a serious challenge.
You pour everything into your food, and your photos should reflect that dedication. They are your best salesperson, working 24/7 to convince people that your dishes are worth trying.
This guide is designed to give you a practical way forward. We'll start with simple, effective techniques you can use with just your smartphone to capture the true essence of your food. From there, we’ll show you how to take those good photos and make them great—without the steep costs or learning curve of the old methods.
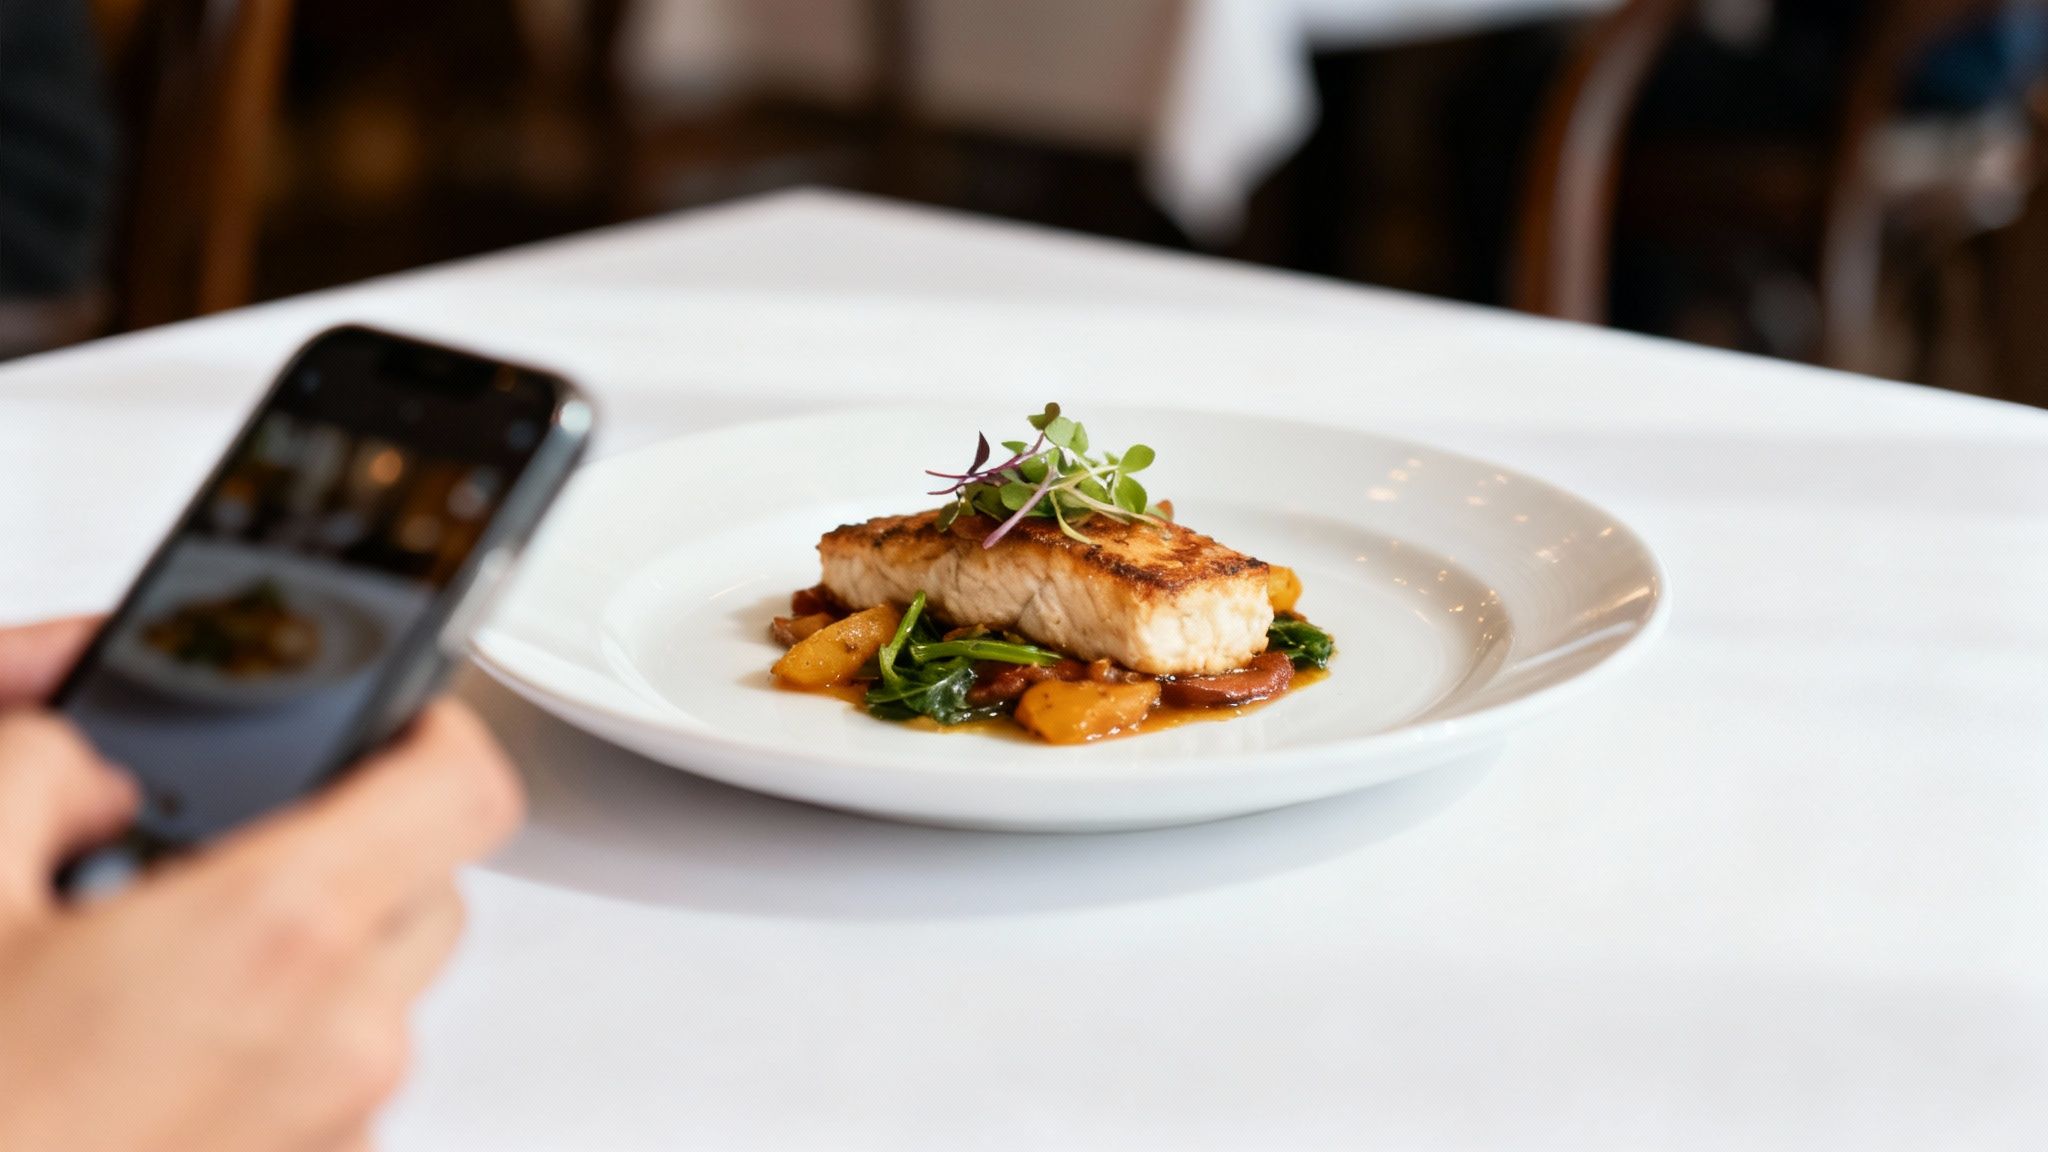
Capturing Great Food Photos with Just Your Phone
Think you need a fancy DSLR camera to take photos that make mouths water? Not anymore. The camera in your pocket is a powerful tool, but the real secret to great food photos isn't the gear: it's knowing how to use it.
Let's walk through a few simple techniques that will immediately improve your shots. The goal isn't to make you a pro overnight, but to give you a solid foundation. If you start with clear, well-lit photos, the final editing process becomes much easier.
Find Your Best Light Source
In food photography, light is everything. It’s the single most important ingredient. Bad lighting can make a gourmet dish look flat and unappetizing, while good lighting brings out its texture and color.
By far, the best light source you have is the sun. And it's free.
Before you snap a picture, take your plated dish on a little tour of your restaurant. Find a window that provides soft, indirect light. You're looking for gentle illumination that doesn't create harsh, distracting shadows. Direct, blazing sunlight is your enemy: it will wash out all the beautiful details of your food.
Pro Tip: Always turn off the overhead lights. Whether they're fluorescent or warm-toned, mixing artificial light with natural window light creates strange color tints that are a pain to correct later. Let the window do all the work.
Master a Few Simple Smartphone Tricks
Your phone's camera app is packed with simple, powerful features. Getting comfortable with just a couple of them will make a massive difference.
- Turn Off the Flash. Seriously, never use your phone’s built-in flash for food. It creates a greasy, harsh, and flat look that is the fastest way to make food look terrible. Natural light is always the way to go.
- Tap to Focus. See that perfectly melted cheese or the fresh sprig of parsley? Tap your finger on that exact spot on your screen. This tells the camera what the most important part of the dish is, ensuring it stays sharp.
- Adjust Exposure on the Fly. After you tap to focus, a small sun icon with a slider usually appears. Before you take the picture, slide your finger up or down to brighten or darken the shot. This simple move gives you so much more control than trying to fix a photo that's too dark or bright later.
Frame Your Shot for Maximum Appeal
Composition is how you tell a story with your photo. Instead of just plopping the dish in the center of the frame every time, try using the rule of thirds.
Most phones have a grid you can turn on. Picture your screen divided by two horizontal and two vertical lines. By placing your dish or its key elements along these lines or where they intersect, you create a much more dynamic and visually engaging photo.
Nailing these fundamentals is what separates an okay photo from a great one. If you're ready to go a bit deeper into camera settings and composition, we've put together some essential food photography lessons to help you out. Getting the shot right in-camera makes everything that comes after so much easier.
Simple Food Styling and Composition Tricks
Okay, you've found your best light. Now for the fun part: making your food look as incredible as it tastes. This is where a little styling and composition come in. You don't need to be a professional food stylist: just think like one for a few minutes before you take the picture.
The goal is to make your dish the hero of the shot. A great first step is to simply declutter the background. A messy table, extra silverware, or a stray napkin will pull the customer's eye away from what actually matters: your food. A clean, simple background keeps the focus right where you want it.
Make Small Tweaks for a Big Impact
Think about what makes each dish unique and add small garnishes that help tell its story. These little details can give your photos a professional edge without looking overly staged.
- Pasta Dish: A single, vibrant sprig of fresh basil can add a pop of color and hint at the ingredients.
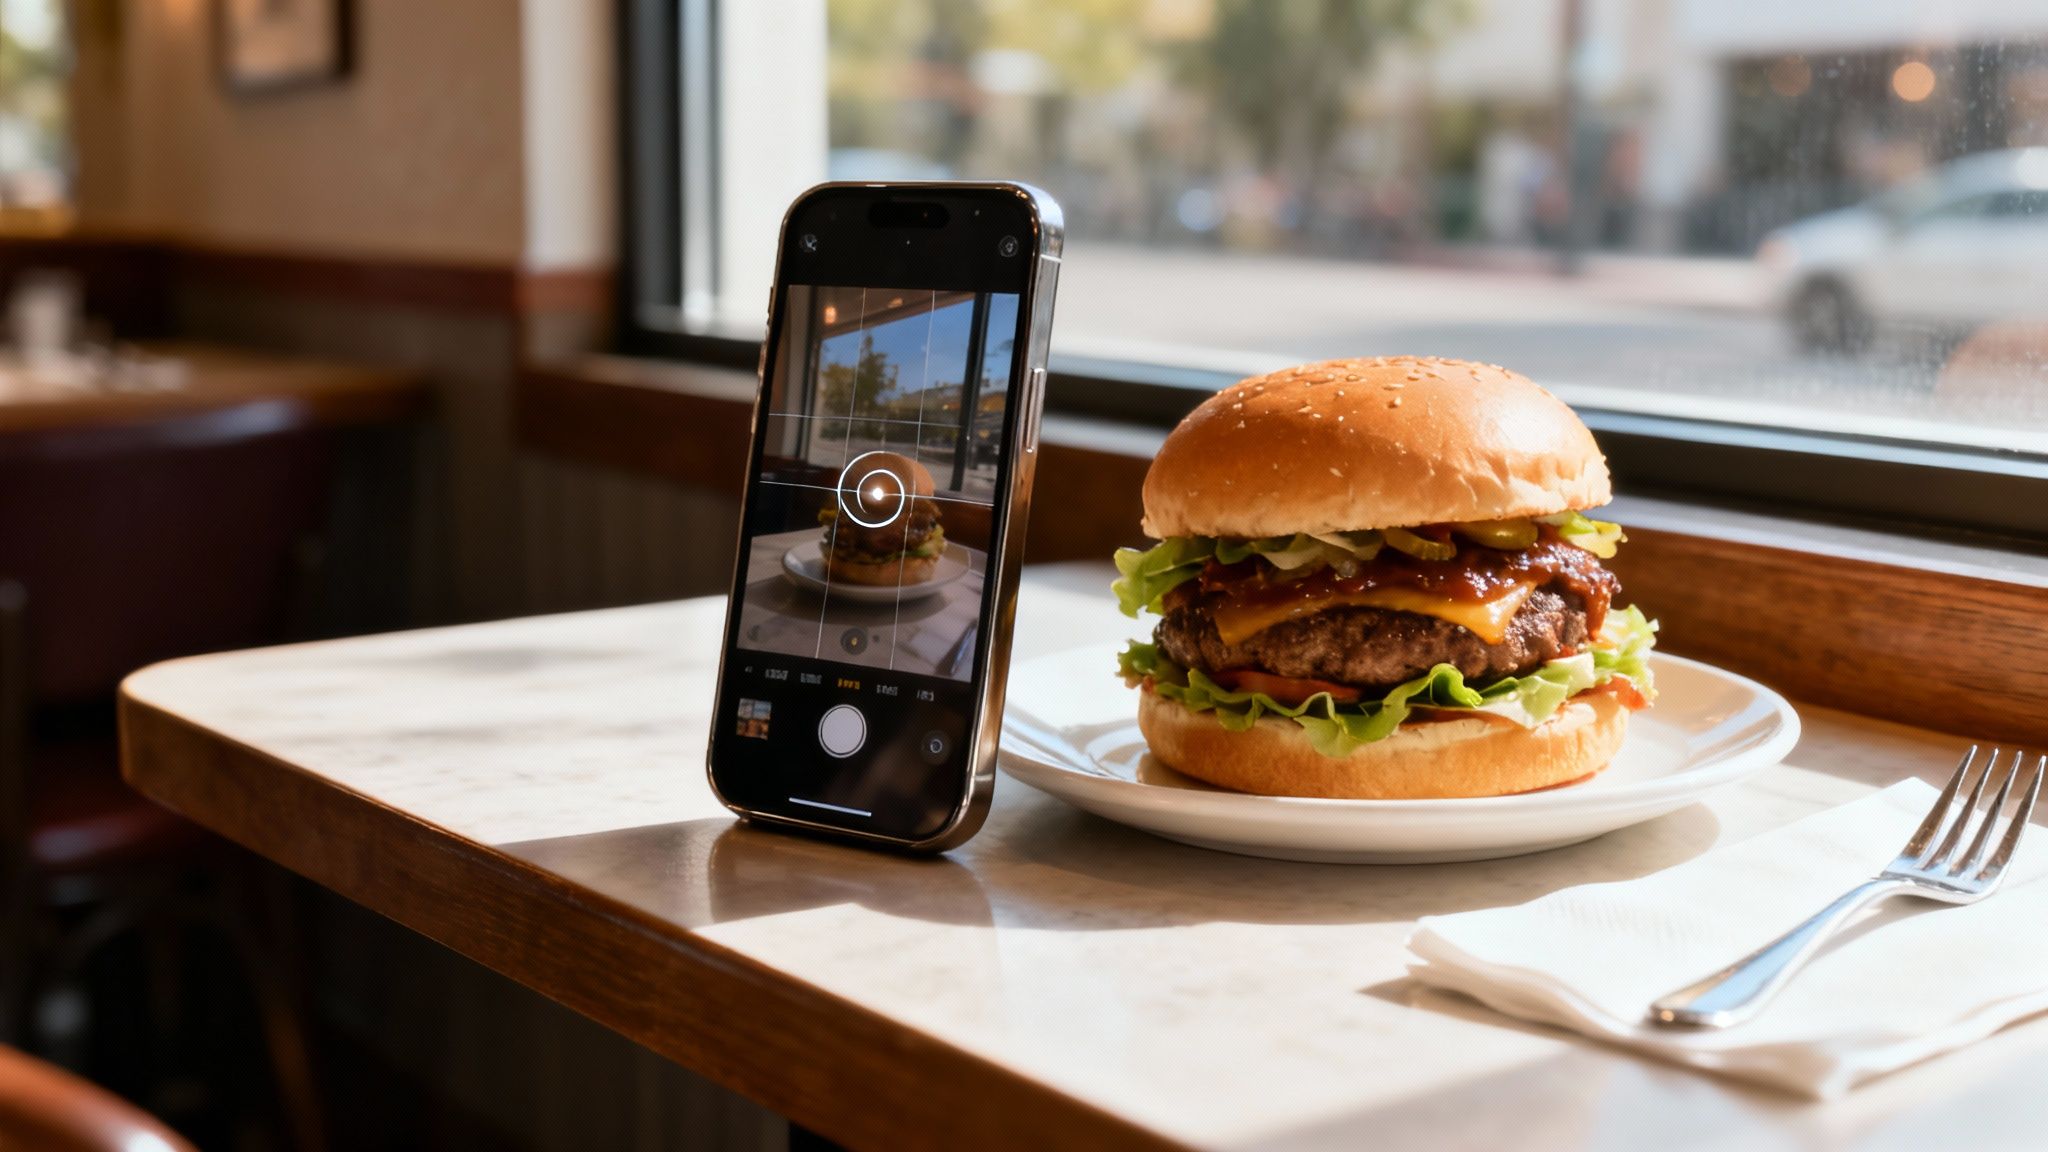
- Burger: Use a toothpick to gently prop up the top bun to show off all the fresh toppings inside.
- Slice of Cake: Don't just show the whole cake. Remove one slice to reveal that delicious, layered filling inside. It's instantly more tempting.
These simple, intentional tweaks make the food feel more alive and inviting. They help customers imagine the textures and flavors before they even walk through your door. If you're looking for more specific ideas on arranging different foods, our guide on food photography tips is packed with them.
Finding the Best Angle for Each Dish
The angle you shoot from can completely change how someone sees a dish. What works for a pizza won't necessarily work for a burger. A little experimentation here will pay off.
A Quick Guide to Angles
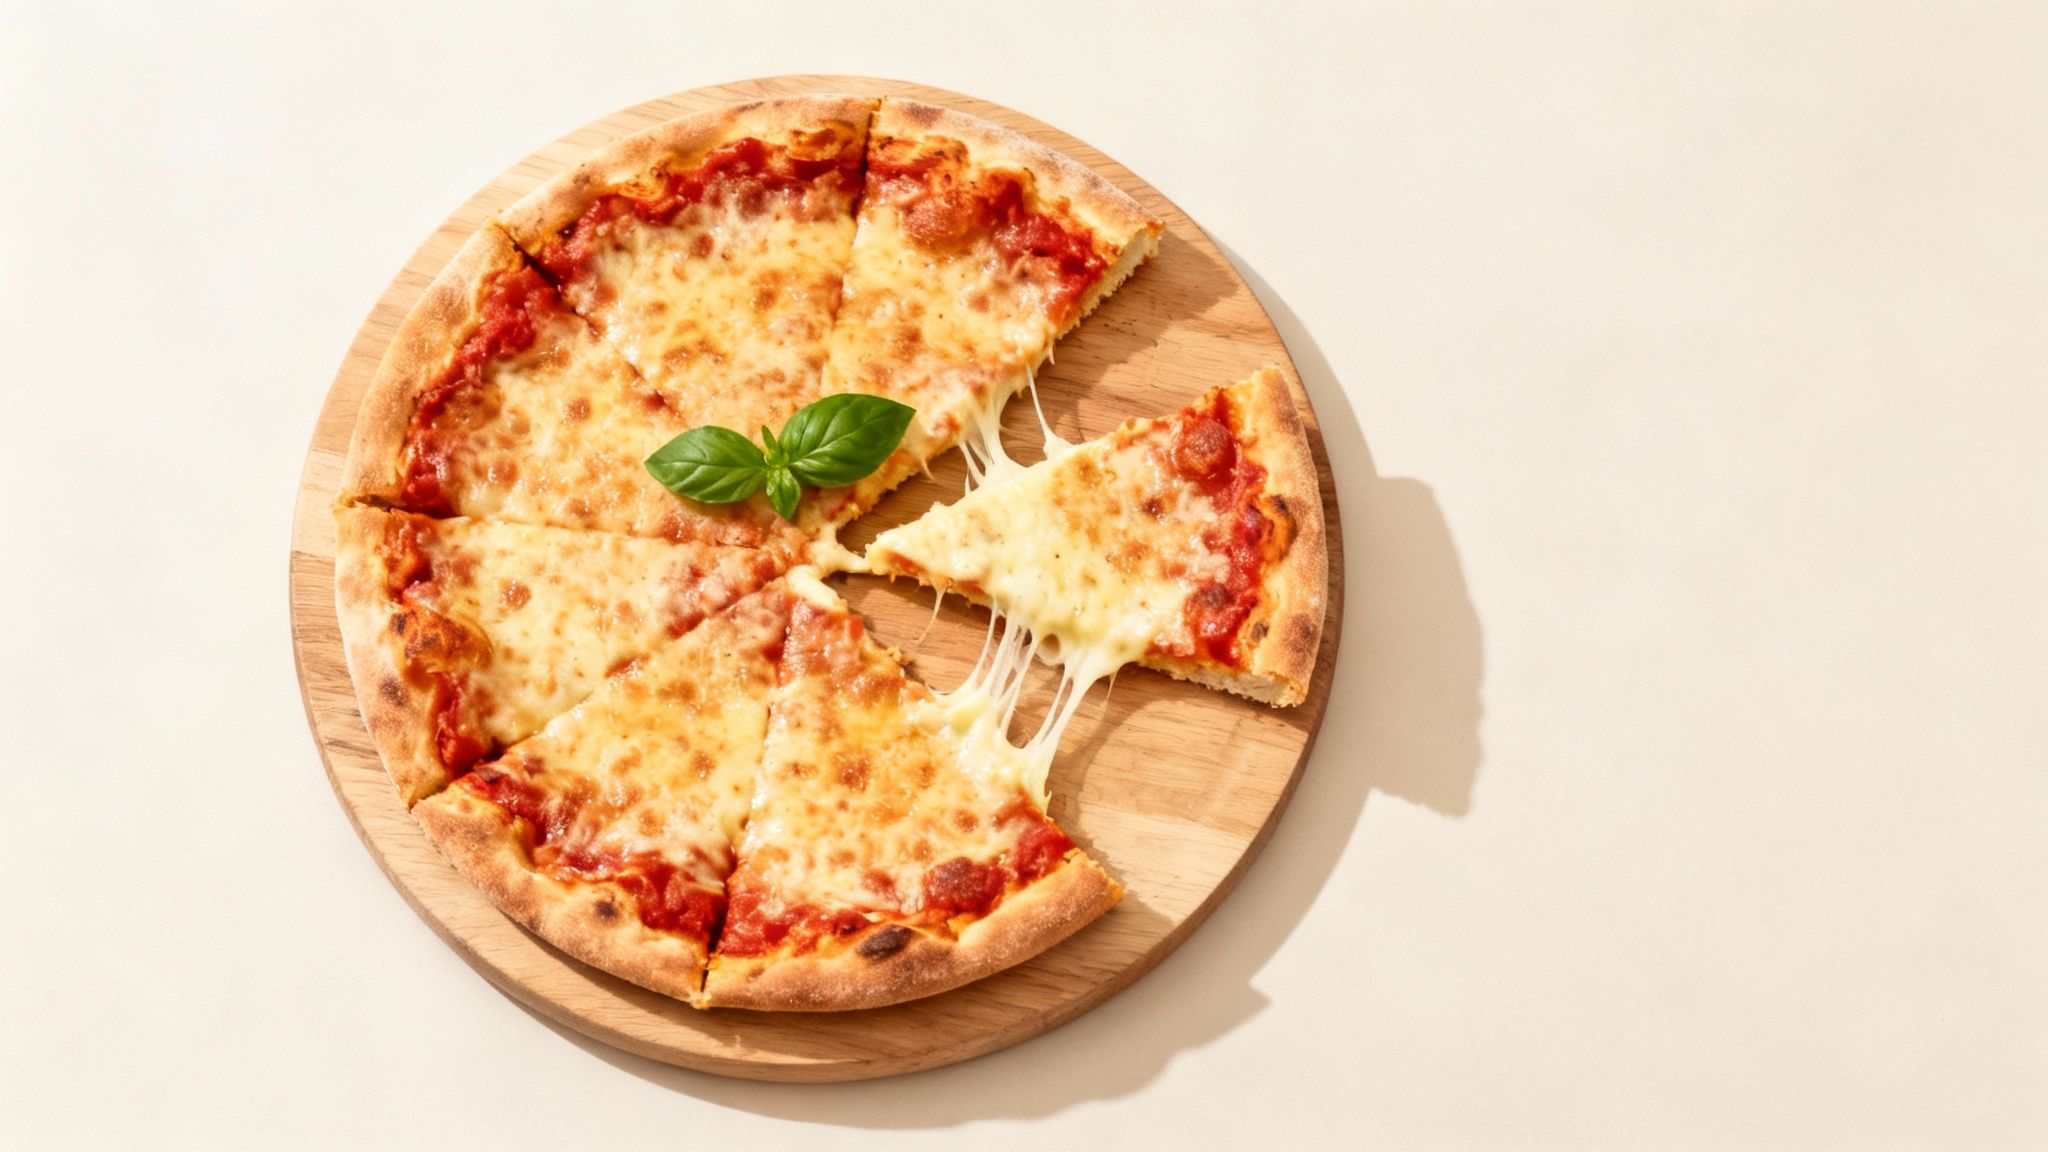
- Top-Down (Overhead): This is great for flat dishes where all the action is on top. Think pizza, charcuterie boards, or a colorful salad. It creates a clean, graphic look that's perfect for online menus.
- 45-Degree Angle: This is the classic food photography angle because it’s how we naturally see food when we’re about to eat. It works wonders for dishes with some height, like a juicy burger, a stacked sandwich, or a bowl of soup.
- Straight-On (Eye-Level): Get down low for this one. It's the best way to emphasize layers and height, making it ideal for a tall stack of pancakes or a beautifully layered cocktail.
Choosing the right styling and angle isn't just about taking pretty pictures; it’s a smart business decision. Thoughtful styling shows you care about the details. That care translates directly into how customers perceive the quality of your food. A well-composed photo doesn’t just show a meal: it tells a story and makes a promise of a delicious experience to come.
Transforming Good Photos into Great Photos with AI
Alright, you’ve followed the steps: you found good natural light, styled your dish, and snapped a few great shots. That’s a huge win, but we're not quite done. The step that turns a good photo into a great one almost always happens during editing.
Even top food photographers edit their work. The problem for restaurant owners is that professional editing software is complicated, and hiring a retoucher is another expense. It can feel like one more barrier between you and the menu photos you need.
This is exactly why we built MenuCapture. Most AI photo tools generate random, fake food images from a text prompt. We knew that's not what a restaurant owner needs. You don't want a picture of a burger; you want a picture of your burger, just better.
MenuCapture edits the photos you’ve already taken. You upload your shots, and then you just tell the AI what you want to change. It works with your actual food.
Tell the AI What to Change
The primary feature that differentiates MenuCapture is text prompt editing. Instead of wrestling with confusing sliders for saturation or contrast, you just type what you want in plain English. This puts you in control without needing any technical skills.
Let's say you've got a photo of your signature soup. You could type instructions like:
- "add steam rising from the soup"
- "make sauce glossier"
- "change lighting to warmer"
- "swap the side of chicken for tofu"
The AI analyzes the lighting, color, and composition and delivers a new version in about 10-30 seconds. If you want a deeper dive, we have a full guide on how to use AI text commands to edit your menu photos.
Keep Refining Until It's Perfect
What if the first edit isn't exactly what you had in mind? No problem. MenuCapture is built for a continuous workflow, so you can edit the same image multiple times. Maybe you added the steam, but now you think the broth could be a bit brighter. Just type in your next command.
The platform keeps a full version history with thumbnails for every image. This means you can easily jump back to a previous version or undo changes with familiar shortcuts like Ctrl+Z and Ctrl+Y.
Every photo you upload and every version you create is automatically saved and organized in your gallery. The system has automatic organization with smart grouping by date and search functionality, so you can finally stop scrolling endlessly through your phone's camera roll to find what you need.
A Realistic Look at Your Photo Editing Options
Once you've got your photos, the real work begins: turning them into mouth-watering menu images. This is where you have to make a smart business decision based on your budget, your time, and your need for a consistent look.
For years, the only real option was to hire a professional food photographer. It's a reliable path to great photos, but it comes with a high price in both time and money.
The True Cost of Traditional Photography
When you hire a professional, you're not just paying for a few final pictures. You're covering their expertise, gear, studio time, and editing. A typical shoot means scheduling weeks ahead, the time for the shoot itself, and then waiting anywhere from a 2-7 day turnaround for the polished photos.
The financial breakdown is simple but can be a shock. Traditional food photography costs $75-150 per photo. If you're updating just ten menu items, you’re looking at an investment of $750 to $1,500 for one project.
For a small restaurant, those recurring photography costs can quickly become a huge drain on your marketing budget. Every seasonal special or menu tweak means another expensive round of photos.
A Modern Approach Built for Restaurants
This is why we created MenuCapture. We saw too many restaurant owners stuck between these expensive, slow options and low-quality DIY photos. Our goal was to build a tool that fits your schedule and your budget. Instead of coordinating with photographers and waiting days, you can snap a photo with your phone and get a menu-ready image in under a minute.
This infographic shows the difference: it takes a dimly lit, average photo and turns it into a bright, appetizing shot that sells.
It’s a clear example of how a few smart AI edits can transform a basic shot into something that looks professional.
With AI processing, the whole equation changes. The process takes just 10-30 seconds. And the cost? It works out to about $0.24 per photo on the weekly plan or $0.09 per photo on the annual plan.
Cost and Time Comparison: Traditional Photography vs. MenuCapture AI
Let's break down the real-world differences. The numbers speak for themselves.
| Factor | Traditional Photography | MenuCapture AI Processing |
|---|---|---|
| Cost Per Photo | $75-150 per photo | $0.24 (weekly plan) or $0.09 (annual plan) |
| Turnaround Time | 2-7 day turnaround | 10-30 second processing |
| Workflow | Photographer scheduling required | No scheduling needed, available 24/7 |
| Equipment | Studio setup and lighting needed | Works with smartphone photos |
| Consistency | Results vary by photographer | Consistent AI results |
| Revisions | Re-shoots cost extra | Edit multiple times included |
When you look at it this way, this approach can save 99.9% on menu photo costs while getting results in seconds instead of days. It puts the power in your hands to update your menu visuals whenever you need to, ensuring your online presence always reflects your very best work.
Got Questions? We've Got Answers.
Even with a solid plan, you're bound to run into a few challenges when you start shooting. It happens to everyone. Let's walk through some of the most common questions restaurant owners have when taking their own food photos.
What If My Restaurant Lighting Is Awful?
This is the biggest challenge most people face. Restaurants are designed for ambiance, not photography, which usually means dim, moody lighting. It’s great for a dinner date but terrible for getting a crisp, clear shot of your food.
Your best bet is to sidestep the problem entirely. Schedule your photo sessions during daylight hours and set up near a large window. Natural light is your best friend: it's soft, it's free, and it makes food look incredible.
But what if shooting during the day isn't an option? Whatever you do, do not use your phone's built-in flash. It creates harsh, unflattering shadows. Instead, you could grab a small, portable LED light. You can find decent ones online for a low price, and they give you a controllable light source you can use anywhere.
How Can I Stop Reflections on Glasses and Shiny Cutlery?
You've plated a dish perfectly, but the shot is ruined by a big glare off a wine glass or fork. It’s a common problem.
The solution is all about the angle of your light. Instead of hitting the dish head-on with your light source, try lighting it from the side or even slightly from behind. You might have to move the light—or the plate—around a bit to find that sweet spot where the glare disappears.
Here’s another helpful tip: grab a piece of white foam board from a craft store. By holding it opposite your light source, you can bounce a soft, diffused light back onto your dish. This little trick fills in dark shadows and dramatically reduces those pesky reflections.
How Do I Keep All My Photos Looking Consistent?
Consistency is what separates amateur-looking menus from professional ones. When every photo has a similar style, it creates a cohesive brand identity and tells customers you’re serious about quality.
The key is to build a repeatable setup. Think of it like a recipe.
- Pick your spot: Find one table, near your best light source, and use it for every single shoot. Use the same backdrop, too.
- Stick to your angles: Decide on two or three go-to angles—like a classic 45-degree shot and an overhead one—and use them for all your dishes.
- Edit with a template: Whether you're using a simple phone editor or a tool like MenuCapture, apply the same general edits for brightness, contrast, and style to every image.
A consistent visual style sends a powerful message: your restaurant is professional, detail-oriented, and trustworthy. It shows customers you care about every aspect of their experience, starting with the menu.
Once you nail down a system for these common issues, you'll be able to produce great photos time and time again. Getting a good shot in-camera makes the final editing process so much easier, letting you focus on making the food look irresistible instead of just fixing problems.
Ready to turn your good photos into great ones in seconds? With MenuCapture, you can use simple text commands to perfect your images, ensuring every dish looks its absolute best.
Ready to transform your menu photos?
Type what you want changed and AI processes your restaurant photos in seconds.
Start Processing Photos